Why I Wanted Cameras
I live in a multi-apartment building with shared common areas — entrance, staircase, driveway, garage. We wanted visibility over what happens in every common area. If something happens, it is useful to have a recording.
I wanted to install 12 cameras. After getting 2–3 quotes that were all over 1000 euros, I decided to install them myself.
What Cameras to Choose
You may have heard about Wi-Fi cameras, battery cameras, analog cameras, and PoE cameras. After researching the market I went with 12 Reolink PoE cameras and a Reolink NVR. Each camera connects with a single ethernet cable to the NVR, which provides both network and power. Reolink allows you to run the cameras locally, without subscriptions and without cloud.
Wi-Fi cameras were not an option — besides the unstable connection, I do not have access points at all 12 locations. Battery cameras need constant recharging. Analog cameras are outdated technology and require more cables.
Why Cameras Should Not Be on the Main Network
Most people buy a camera, plug it into the router, and call it done. The camera works, they can see the feed on their phone, everything seems fine.
The problem is that camera is now on the same network as their laptop, their phone, their work device, and everything else. Cameras are known for security issues — outdated firmware, known vulnerabilities, communication with servers in countries you have never heard of.
If a camera gets compromised on a flat network, the attacker can see everything else on that network. Your files, your devices, your smart home, even your alarm system.
The Surveillance VLAN
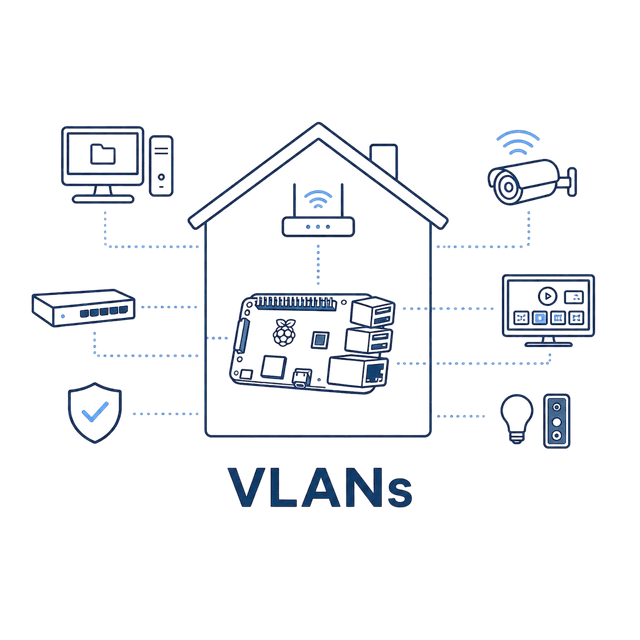
I put all cameras and the NVR on their own VLAN — Surveillance VLAN. The firewall rules are simple and strict:
No internet access: Cameras cannot reach the internet at all. No cloud uploads, no DNS resolution. If a camera is compromised, it cannot send anything out. I push the updates via home assistant if needed.
No access to other VLANs: Cameras cannot see my personal devices, IoT devices, the NAS, or anything else on the network.
Trusted devices can reach the NVR: A specific rule lets Trusted VLAN connect to the NVR to view live feeds and recordings.
Cameras, NVR, and Storage
All 12 cameras are Reolink PoE models. The NVR is also Reolink — it came with its own built-in hard drive for recording.
The NVR handles everything: motion detection, recording schedules, notifications, playback, and live view. All recordings stay on the NVR's local drive. Nothing leaves the network.
Cabling and PoE
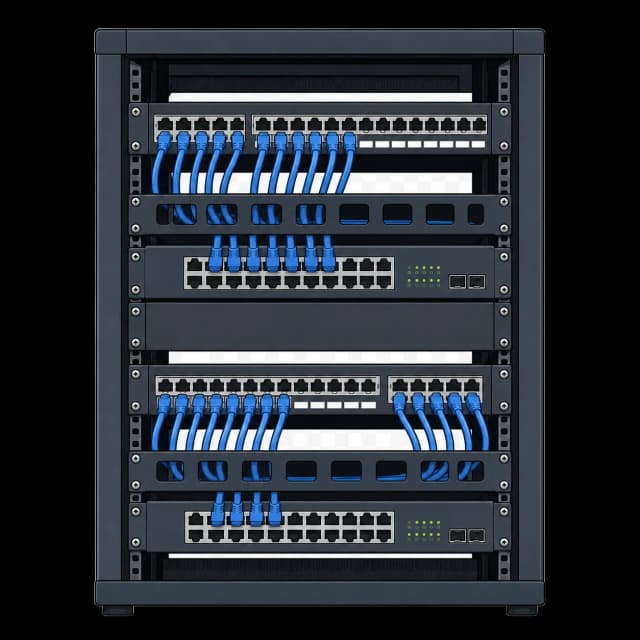
Every camera runs on a Cat6 cable back to a PoE switch. PoE (Power over Ethernet) means one cable handles both data and power without needing a separate power adapter at each camera location.
I planned the cable routes during construction of the house. All cables gather in a shared space in the basement. There I have a rack with a patch panel, the NVR, and a UPS. The UPS keeps cameras and the NVR running during short power outages.
At each camera I installed a small junction box to hide the cable connection and protect it from weather. It is worth doing from the start — exposed cables and connectors look bad and degrade over time.
Remote Access
When I am away from home I access the cameras through WireGuard VPN. I connect to my home network via VPN, then open the NVR's local IP, Home Assistant, or use the Reolink app configured for local access.
Why I Disabled Cloud Access
Reolink offers cloud access through UID/P2P — basically the cameras connect to Reolink's servers and you view the feed through them. Convenient, but it means that my footage passes through third-party servers. The cameras need internet access. If Reolink gets compromised, someone could see my cameras. Or if Reolink is down, I cannot see my cameras.
I disabled it everywhere. The only way to access the cameras from outside the house is through WireGuard VPN.
Camera Installation Tips
Install junction boxes from the start: I did this for the exterior cameras initially. For the interior ones where I did not, the cable looked ugly and there was excess cable, since the camera needs to connect to the ethernet cable. Also during construction work like painting, the cable got damaged. So I ended up installing junction boxes on the interior cameras too.
Consider dual-lens cameras for wide areas: Some of my exterior cameras cover large areas — driveway, garage, garden perimeter. A single-lens camera either gives you a wide angle with less detail or a narrow angle with better detail. Dual-lens cameras give you both. I would use these for the wide outdoor positions if I were starting over.
The PoE switch and NVR need a UPS: A power outage without a UPS means no recordings during exactly the kind of event you want recorded. A basic UPS gives you 15–30 minutes of runtime, which covers most outages and can also give you footage if someone tries to break into your house by cutting the electricity.
This is part of my Building My Smart Home series — where I document everything I built, what worked, what broke, and what I learned. Follow along for practical infrastructure posts aimed at developers who want to build real systems.